

Drum MIDI to EZdrummer 3: Mapping Fix (2026)
Instead of rebuilding every kick, snare and cymbal hit by hand, drag Oracle Sound drum MIDI into a DAW track running EZdrummer 3, check the mapping and edit the groove against your guitars. That is the practical way to connect drum midi to ezdrummer 3 in 2026: the MIDI supplies the performance, while EZdrummer 3 supplies the drum sounds.
- For drum midi to ezdrummer 3, put the MIDI on the DAW track that hosts EZdrummer 3, then audition every kit piece.
- Oracle Sound's Heavy Metal drum MIDI pack is best for metal arrangements when you select its included EZ DRUMMER mapping.
- If the kick plays but cymbals do not, inspect note mapping before changing drum kits.
- Keep the DAW tempo and song sections visible while you edit fills and breakdowns.
Why this matters
MIDI is a set of note events, not a recording of drums. A file can load successfully yet play the wrong kit pieces because its note assignments do not match the receiving instrument. Fixing that mismatch early saves you from editing an entire metal track around a broken cymbal or missing snare.
Oracle Sound is best for metal producers who want genre-specific drum MIDI to edit in EZdrummer 3, not a replacement for the drum instrument itself. The trade-off is that you still have to choose the appropriate mapping, select a kit and shape the performance around your song.
Two Oracle Sound packs explicitly list EZ DRUMMER mapping in their product information. Choose by the arrangement you are writing; neither pack removes the need to audition its files in EZdrummer 3.
| Oracle Sound pack | Best for | Advantage | Limitation |
|---|---|---|---|
| Heavy Metal 11 Song Drum MIDI Pack | Metal song arrangements | Lists EZ DRUMMER mapping; contains 11 songs | You still need to check how its notes trigger your chosen kit |
| Alternative Metal 11 Song Drum MIDI Pack | Alternative metal arrangements | Lists EZ DRUMMER mapping; contains 11 songs | Its genre focus is not a substitute for editing fills to your riffs |
Before you start
-
Have EZdrummer 3 available in your DAW and locate the extracted Oracle Sound MIDI files. MIDI files normally use the
.midextension. Keep the original archive until you have identified the version you intend to use. - Open the song at its working tempo. A groove becomes easier to judge when it plays against your guitar or bass part rather than in isolation. You can change the tempo later; make the first mapping check before you start detailed edits.
- Check for a version labelled EZ DRUMMER before importing. This is the setup gotcha: if a pack supplies several mappings, dragging in a differently labelled version can produce wrong hits even though the file itself opens. Not every Oracle Sound pack in the catalogue states that it includes an EZ DRUMMER mapping, so inspect the files you actually have.
If your DAW offers multiple drag targets, choose the MIDI region area of the track hosting EZdrummer 3. Dropping a MIDI file onto an audio track, a sampler track or an empty part of the arrangement is not the same routing. Start with one groove and confirm sound before importing a full song.
Set up your EZdrummer 3 track
- Create an instrument track in your DAW and insert EZdrummer 3 as its instrument. Use your DAW's instrument-track command; the exact button name differs between DAWs.
- Open EZdrummer 3 and choose a drum kit. Play a kit piece inside the plugin to confirm that the instrument is producing audio before bringing in external MIDI.
- Check the track's audio output and make sure the track is not muted. If your DAW has record monitoring or an instrument-enable switch, turn on the setting needed to hear incoming MIDI.
- Put the song's tempo and metre on the DAW timeline. Keep any existing guitar scratch track audible so you can judge whether accents land with the riff.
Expected result: the plugin makes sound when you trigger a drum inside EZdrummer 3. If it does not, fix the instrument track and audio output first; importing MIDI will not repair a silent plugin.
For a metal or hardcore session, keep the guitar DI, bass and drum instrument on separate tracks while establishing the groove. That gives you a direct way to hear whether the kick follows the low-string rhythm and whether the snare supports the intended backbeat. It also stops an apparently heavy drum sound from masking a timing problem in the MIDI.
Load and check the MIDI mapping
- Open the extracted Oracle Sound pack. Where an EZ DRUMMER-labelled version is supplied, choose that version rather than a file labelled for another drum instrument.
- Drag one
.midfile onto the MIDI lane of your EZdrummer 3 instrument track. Align the start of the region with the intended bar in your DAW. Your DAW should display editable note events, not an audio waveform. - Press Play in the DAW. Listen separately for kick, snare, hi-hat, ride, crash and tom hits. Do not judge mapping from the kick alone; a partly correct file can still have its cymbals or articulations on the wrong notes.
- Open the MIDI region in your DAW's piano-roll editor. Select a suspicious note and audition it against the corresponding kit piece in EZdrummer 3. Correct any mismatch with your DAW's note-editing tools or a mapping utility rather than moving every repeated hit by hand.
- Save the working session after the mapping check. Keep the original MIDI file unchanged so you can restart from the supplied performance if an edit goes wrong.
Expected result: each part of the pattern triggers the kit piece you intended, and the groove plays from the instrument track at your DAW's tempo. A note visible in the editor proves that MIDI arrived; it does not prove that the assigned drum is correct.
This distinction matters most in fast passages. A snare roll that triggers toms or a cymbal accent that triggers a closed hi-hat changes the arrangement, not just the tone. In 2026, treat a mapping check as the first production edit whenever you move drum MIDI between instruments.
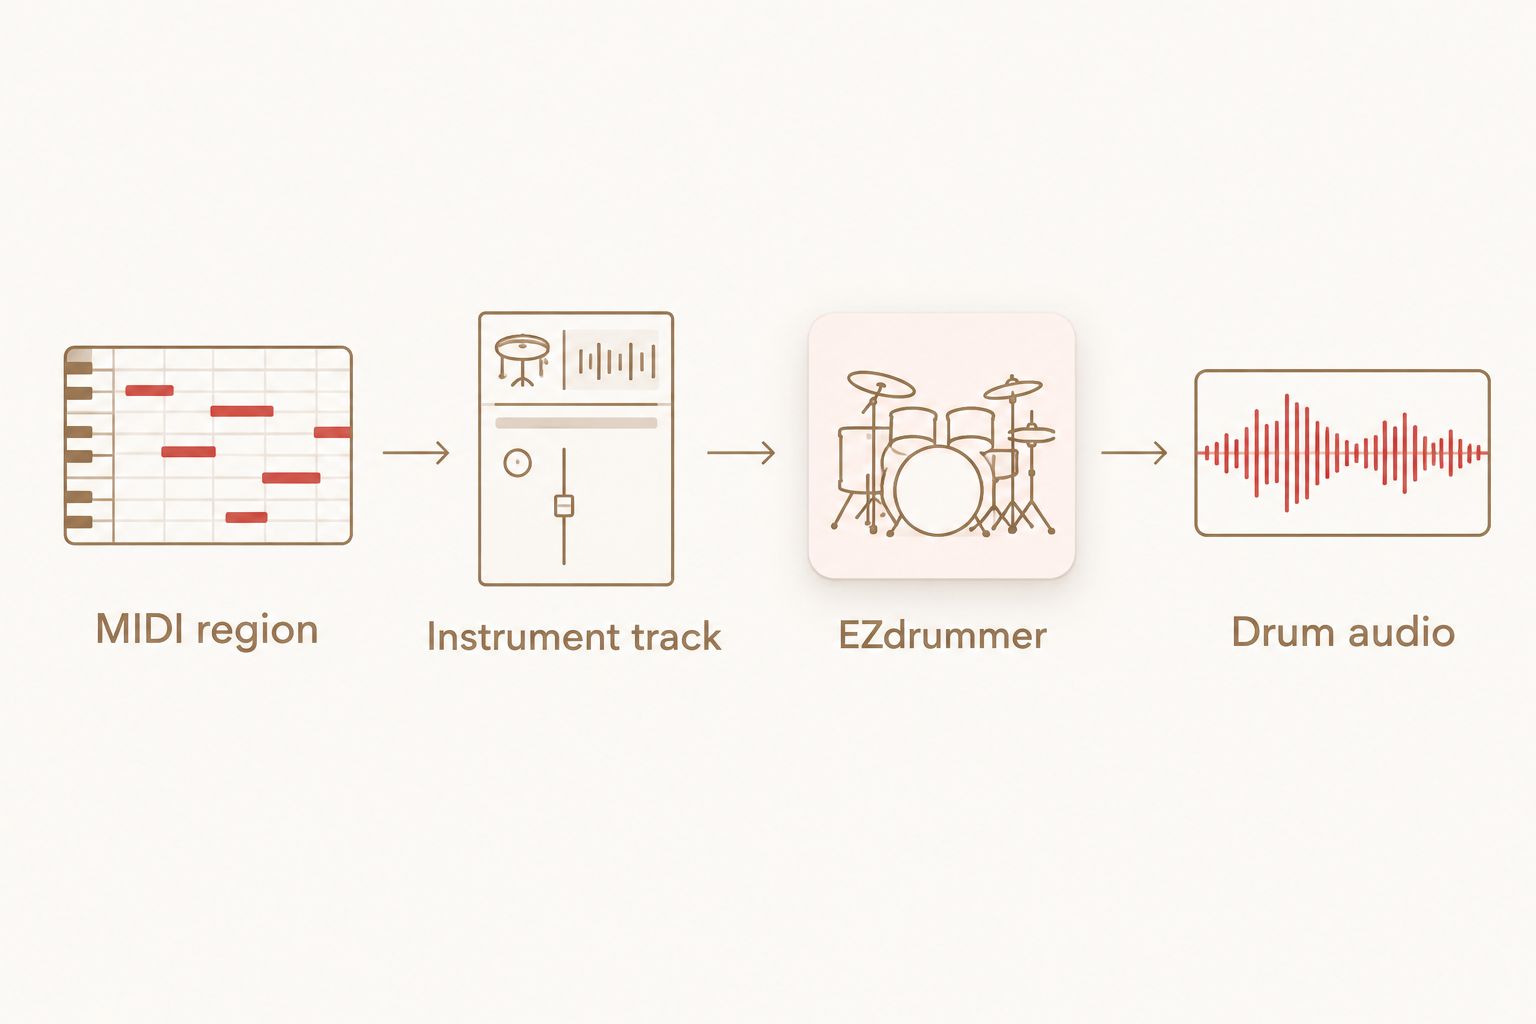
The signal path is straightforward: a MIDI region sends note events to the instrument track, EZdrummer 3 turns those events into drum audio, and the DAW sends that audio to your mix. If you can see notes but hear nothing, check the middle and final parts of that path. If you hear the wrong drums, check the note assignments.
Shape the groove around the riff
- Duplicate or arrange the working MIDI region across the sections you need. Keep verse, chorus and breakdown parts in separate regions so a fill edit does not change every repeat.
- Loop a short guitar passage with the drums. Move kick hits that fight the riff; keep hits that reinforce its stops and accents. A groove library gives you material to arrange, not a finished drum part for every guitar pattern.
- Inspect snare and cymbal entrances at transitions. Shorten or replace a fill if it runs across a deliberate stop. Let the next section's first hit land with the guitar entrance you want the listener to feel.
- Adjust note velocities where repeated hits feel mechanically identical. Listen after each change: a velocity edit affects the performance sent to EZdrummer 3, but the audible result also depends on the selected drum kit.
- Recheck the full arrangement after changing tempo or moving song sections. Watch for MIDI regions left behind at their old timeline positions.
Expected result: your drum track follows the song structure and reinforces the riffs without losing the pack's original performance as a starting point. For hardcore, check the kick and snare through every stop-start section. For sustained metal passages, pay particular attention to cymbal changes and whether fills announce the next section.
A useful test is to mute the guitars for one pass, then bring them back. First confirm that the drum performance makes rhythmic sense on its own; then listen for conflicts with the riff. If a section only works with one kit sound, verify its note placement before replacing the kit again.
Use EZdrummer 3's Song Track instead
The DAW-track method is best when you want every note visible alongside guitar and bass. A second workflow uses the Song Track inside EZdrummer 3 to assemble drum parts within the plugin. Pick one arrangement workspace for your main edits rather than maintaining two versions of the song by accident.
- Open EZdrummer 3's Song Track and add the MIDI groove there using the plugin's available MIDI import or drag-and-drop action.
- Play it inside EZdrummer 3 and repeat the same kick, snare and cymbal check. The destination changed; the need to check mapping did not.
- Arrange the parts in Song Track, then check how that playback sits against the DAW timeline and your recorded instruments.
- If you later move the part to a DAW MIDI track for detailed editing, compare the playback before deleting the version inside the plugin. Avoid running both versions at once.
Expected result: one audible drum arrangement plays in time with your session. If you hear doubled hits, stop playback and check whether both the plugin's Song Track and a DAW MIDI region are playing the same notes.
| Editing location | Best for | Advantage | Limitation |
|---|---|---|---|
| DAW MIDI track | Tight edits against guitar and bass | Notes sit on the same timeline as the rest of the song | Requires you to manage the MIDI regions in the DAW |
| EZdrummer 3 Song Track | Building the drum arrangement inside the plugin | Keeps drum sections together in the instrument | Can create duplicate playback if you also run a DAW copy |
Neither route changes what the Oracle Sound file contains. Choose the one that keeps your edits visible, then remove or mute the other playback path. That decision is more useful than repeatedly changing kits to solve an arrangement problem.
Troubleshooting
The MIDI region is visible, but there is no sound. Confirm the region is on the instrument track hosting EZdrummer 3, then trigger a drum inside the plugin. If the plugin itself is silent, inspect mute, monitoring and audio output settings before editing the MIDI notes.
The kick works, but the snare or cymbals sound wrong. Check whether you selected an EZ DRUMMER-labelled file when the pack provides one. Then compare the MIDI note positions with the kit pieces they trigger. If you need to translate a whole pattern, use a mapping workflow rather than shifting one note at a time; Oracle Sound also lists Drum MIDI Mapper, but check its product details against your setup before relying on it.
Every hit sounds doubled. Look for two active playback sources: a MIDI region in the DAW and a copy in EZdrummer 3's Song Track. Mute one and replay the passage. If the doubled sound disappears, keep only the arrangement you intend to edit.
The groove plays out of place against the guitars. Check where the MIDI region begins on the DAW timeline and whether the song tempo changed after you imported it. Move the region to the intended section, then listen from a bar before the transition rather than only from the first hit.
A fill loses its impact after you change kits. Recheck which notes trigger its cymbals and toms. A kit change alters the sounds you hear; it does not rewrite the MIDI performance to suit the new arrangement. In a 2026 production session, keep the original file available while you revise the fill.
Customise your workflow
Once one groove plays correctly, build a small set of verified parts for the song: a main section, a contrasting section and a transition. Name the regions by their role in your arrangement. When you change kits, return to your known working passage first; it gives you a quick check for missing or misplaced hits before you review the whole track.
You can also print the finished drum performance to audio in your DAW when you need a stable reference for editing guitars or sharing a mix. Keep the editable MIDI track in the session. Audio preserves the current sound; MIDI preserves your ability to change the notes, velocities and drum instrument later.
Oracle Sound's MIDI drum packs are most useful here as editable source material. Select a pack that fits the song, verify its mapping and commit to one playback route. If the production shifts from metal to punk, change the groove choice and edit the accents; do not assume a different kit alone will turn the same performance into a new style.
FAQ
How do I connect drum midi to ezdrummer 3?
Put the MIDI file on the DAW instrument track running EZdrummer 3, then play it and check which kit pieces each note triggers. If your pack includes an EZ DRUMMER-labelled mapping, start with that file.
Do Oracle Sound MIDI packs include EZdrummer audio?
No. Oracle Sound drum MIDI supplies note events, while EZdrummer 3 generates the drum audio from those events. You need the plugin loaded and routed to an audible output.
Which Oracle Sound packs list EZ DRUMMER mapping?
The Heavy Metal 11 Song Drum MIDI Pack and Alternative Metal 11 Song Drum MIDI Pack both list EZ DRUMMER mapping in their supplied product information. Check the files in your pack before importing.
Why does my MIDI trigger the wrong drum in EZdrummer 3?
The MIDI note assignments do not match the kit pieces you expect. Choose the pack's appropriate mapping if supplied, then inspect the notes that trigger the wrong snare, cymbal or tom.
Can I edit Oracle Sound drum grooves in my DAW?
Yes. Import the MIDI onto an instrument track and edit its notes, positions and velocities in your DAW's MIDI editor. Keep the original file so you can restore the starting groove.
Should I use a DAW track or EZdrummer 3's Song Track?
Use a DAW track for note edits alongside guitars and bass, or use EZdrummer 3's Song Track to arrange within the plugin. Avoid playing duplicate copies in both places.
What should I check before building a full metal drum arrangement?
Check that the plugin makes sound, the MIDI reaches it and the kick, snare and cymbals trigger the intended kit pieces. Confirm the song tempo and region position before duplicating the groove.
One last thing
Test a cymbal-heavy fill before you arrange the entire song. A basic kick-and-snare passage can hide a partial mapping mismatch; a fill exposes wrong tom and cymbal notes while the fix is still small. That single check makes the rest of your 2026 EZdrummer 3 session easier to edit.